The frigid Mountain biome is tough to explore in Valheim, but once you start crafting Silver armor, you are going to make the icy heights your home.
Wolf Armor is your sixth tier of protection you can get in Valheim, but just like everything else in the Viking survival game, crafting it is not simple. You will need to locate Silver, among the toughest metals to locate, which takes special requirements. On top of this, you are going to have to survive the cold of the Mountain, which is lethal all on its own. This guide will help you find Silver, give you all of the information you need to survive the hills, and run down the requirements for each piece of armor, so that you understand exactly what to hunt for before you get started.
How To Find Silver
Locating Silver at the Mountain biome is a multistep procedure. It is buried underground, rather than popping up on the surface such as Tin and Copper. Meaning Silver is a far more difficult ore to mineand you won’t find it without a little help or a lot of luck. To find Steel underground, you will need a particular item called the Wishbone.
The Wishbone is an item you can only make by defeating the Bonemass, the boss of the Swamp biome. That’s a lengthy procedure by itself, one that needs delving into the Sunken Crypts dungeons found sprinkled round the Swamps. For that, you’ll require the Swamp Key, which you can earn by beating the Black Forest boss, the Elder.
Beating the Bonemass could be rough, so you’re going to want to search for Iron and equipment up long before you go after the boss itself. To find it, delve into Sunken Crypts and then look for a rune stone which will mark the Bonemass on your map. As soon as you’ve completed that, you’ll want to locate its altar and make a forfeit of 10 Withered Bones to draw the giant blob outside to battle you.
The Bonemass does a ton of damage with its melee swipes, and the majority of its strikes will leave you educated, so be sure you’re making Poison Resistance Mead before the conflict. Blunt damage works nicely against the Bonemass, therefore the Iron Mace is a good melee weapon to bring along too. We found that the most success, but with Frost Arrows. The Bonemass resists piercing damage but is susceptible to Frost damage, which makes the arrows quite effective. You’ll want to venture to the Mountain biome to get them, though.
Kill the Bonemass, and it’ll drop a Wishbone, which is an equippable item. With that in hand, you are all set to go to the Mountain biome to search for Silver.
The Wishbone detects concealed treasures, and it does so basically by acting as a metal detector, blinking and beeping if you draw near to underground products. Together with the Wishbone armed, you will notice turquoise lines emanate from your character and hear a type of pinging sound when you draw close to something that is buried. That’s your index that you are on the right track–but do not begin digging just yet.
As you get nearer to a buried thing, the Wishbone will pulse faster and quicker, so it is a good idea to have your audio turned up to help you identify if you are drawing closer to a product. If the blockages are a few seconds apart, you are still a fairly long way from the destination. Don’t begin mining until the pings are pretty close together.
You’ll also need to note that some Silver is probably under your feet a reasonable distance. This can make it hard to locate, although your pickaxe will take you down pretty quickly. Keep your Wishbone equipped the whole time you are mining, as it’ll help you figure out when you’re moving a lot away from a Silver vein. The genuine Silver nodes could be challenging to spot, but you will know you have found a few when your Wishbone quits blinking altogether.
You’ll discover mountains provided that you explore Valheim; basically, if the altitude is rising before you, you’re on the ideal track. It can be challenging to see through woods and swamps to find the Mountain biome, so if you are having trouble locating the right place in your foot on a particular island, look at hopping into a ship and sailing around a little bit. Mountains aren’t particularly common as much as another biomes go, but they might be much easier to spot at a distance.
The thing to remember is that mountains are cold. Venture too high in elevation and you’ll suffer in the Freezing debuff, which will gradually endanger your health before it kills you. Freezing, like poison, can quickly be your undoing if you experience any of the Mountain biome’s denizens, and therefore don’t start climbing until you are ready to go.
You will want both a Cauldron plus a Fermenter to create the potion, but it is worth the attempt. Use the Cauldron to create Frost Resistance Mead foundation from 10 Honey, 5 Thistles, two Bloodbags (taken from Swamp Leeches) and 1 Greydwarf Eye. After brewing that, toss it in the Fermenter and waitbrewing requires about an hour, but you’ll get six Frost Resistance Mead potions to your problem, and every one will shelter you from the cold for 10 minutes.
You’ll also need to gear up as you can with Iron armor and weapons from the Swamp biome. The Mountains are filled with hard enemies, not the least of which are Wolves, that will probably rip you apart a few times as you learn more about the area. Keep a lot of arrows useful to your bow, and get prepared to make a run for it if a bunch of wolves descends onto you. They assault fast, hit hard, and can readily stagger you in the event that you attempt to block them using a shield.
Mountains are steep but notice that with a few Stamina, you can usually sprint their slopes. Just make certain that you have a plan for where it is possible to stop and recharge your Stamina before you begin venturing upward.
Once you can begin creating Wolf Armor, it is recommended that you craft the Wolf Fur Cape once possible.
As with Copper and Tin, you’re going to need a pickaxe to mine Silver, however your older Hard Antler pickaxe won’t do. Silver is too hard to break with anything less than the Iron Pickaxe, so factor in the additional 20 Iron you’ll want to create one into your strategies for upgrading your gear in the Swamps.
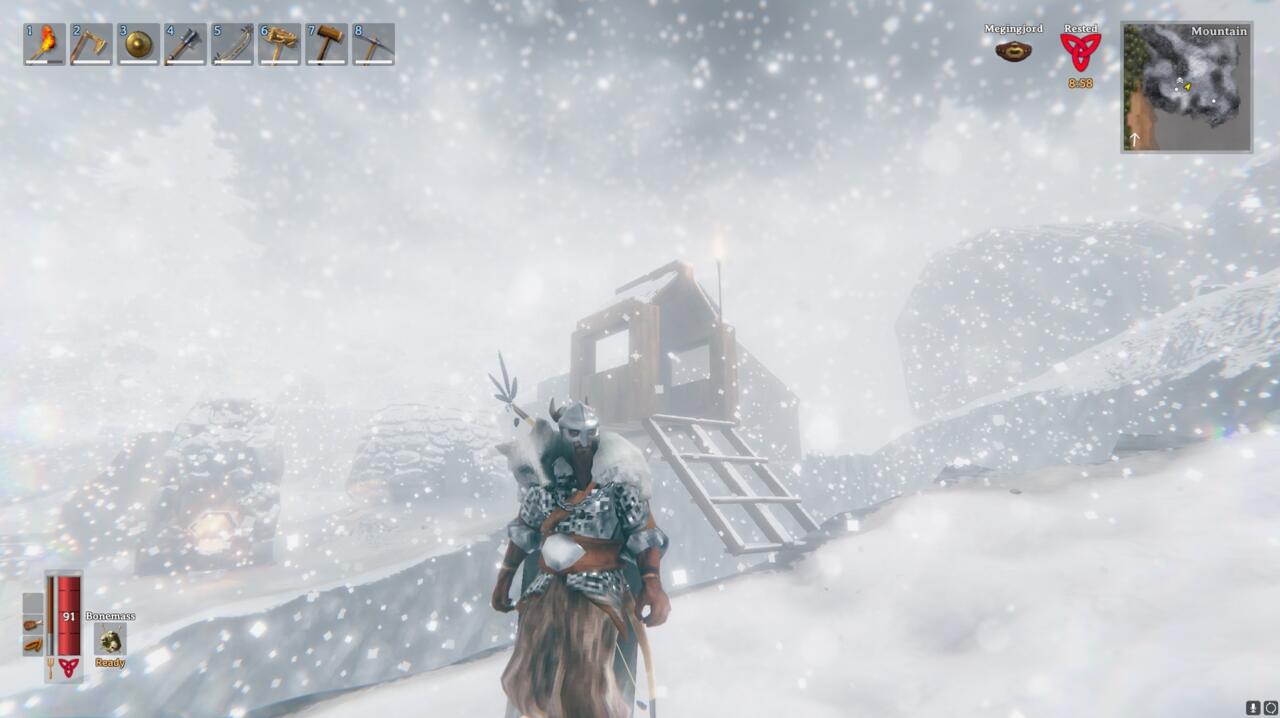
The very first thing you should do in the Mountain biome is set up a foundation. A home with a fire can provide you a location where it’s possible to survive in case your Frost Resistance Mead workout. It’s a fantastic idea to fashion a portal site in this location as well so that you do not always have to climb up and down the mountain to get anything done. These things will definitely help you get from emergencies. Just remember to fashion the opposite end of the portal before you leave your primary base–and do not forget to label it so you can make the connection.
Once you’ve obtained a foundation setup and begin mining Silver, you also can get together another items you’ll want to craft Wolf Armor along with other Silver gear. The prerequisites are pretty involved, though–you are likely to require at least some Copper sooner or later, and some Iron Chains or Bronze as well.
First and foremost, you’ll need both a Workbench and a Forge, together with both updated to Level 2. It is probably a fantastic idea to make a Mountain foundation which contains a Smelter plus a Kiln so it is possible to refine Silver Ore on-site. You will also need Copper to build your own Forge, and Bronze for a few of the Forge updates.
You will unlock a lot of recipes as soon as you refine Silver Ore.. Here’s the armor you can create with Silver:
Each item has its own unique needs to craft, nevertheless. While you’re in the Mountain biome, then you will need to hunt wolves and drakes, the flying ice cubes you see hovering around the area.
Wolf armor generally requires a lot of Silver and a couple of wolf pelts, but every piece of armor also has an extra, slightly less clear necessity. For the Wolf Chest Armor, that’s an Iron Chain. Locate these from the Sunken Crypts of the Swamp biome. You’ll only need one for the armor, but if you can get some more, Iron Chains are helpful for building Forge Bellows, which may update your Forge fairly easily; the other Forge update add-ons require Bronze.
For your Wolf Leg Armor, you’ll need Wolf Fangs in addition to the normal crafting materials. The good news is that these are fairly easy to come by; you should get them naturally as you hunt wolves for their pelts or just fight them off as you research the hills.
You’ll find these creatures readily enough–they’re flying blue dragons that you can usually see at a pretty decent distance. Use your bow to take them down; they are not tough to fight and don’t have a ton of wellbeing, but make certain to keep moving as soon as the drake stops flying to hover and shoot ice blasts in you.
Drake Trophies might require you to search to get a little since not every drake will fall them. However, like wolves, drakes are plentiful in the Mountain biome, so you ought to meet this requirement without a lot of trouble.
The Wolf Fur Cape takes the least amount of Silver to craft, so you’ll want to knock it out first instead of last. That’s because wearing the cape will provide you automatic Frost Resistance and keep you from freezing at the Mountain biome, and that will make continuing your mining operation a whole lot easier. You’ll require a Wolf Trophy with this one, so keep a look out for star-quality wolves as you hunt. Also, note you will produce the cape in your Workbench, so you’ll need to update it once to get access to this recipe.
With the entire Wolf Armor set, you are all set to begin searching down Moder, the dragon boss of this Mountain biome. It is a good idea to keep mining Silver to create additional weapons and further upgrade your armor to produce it stronger, as your next stop is Valheim’s hardest region: the Plains.


